
My favorite National Park is undoubtedly Arches National Park near Moab Utah. The last time I visited the park it was very hazy and smoky due to the California wildfires. However this time that I returned in the summer of ’24 the skies were clear and pristine, and I knew I would be able to get some great Milky Way shots through the arches and behind some of the great rock formations.
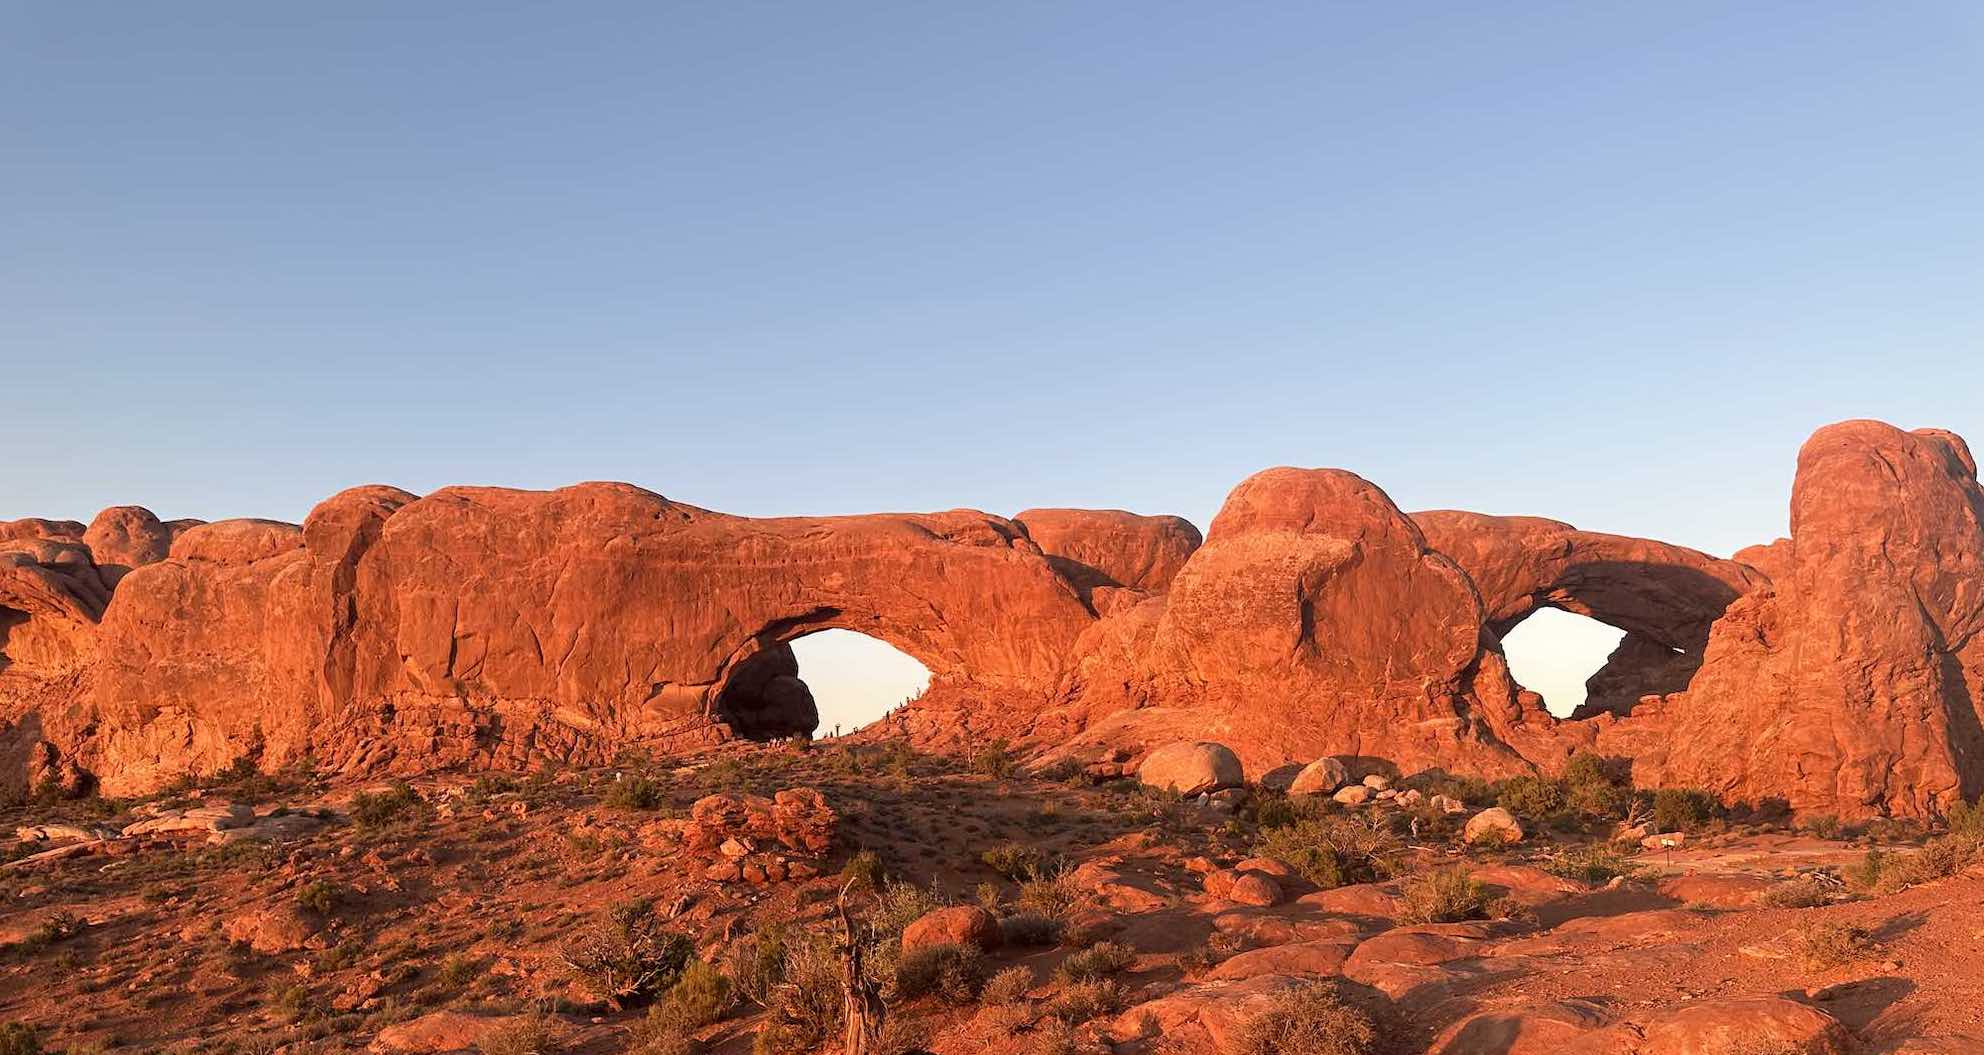
A very popular destination in Arches for Milky Way Landscape shots is the Windows Arches area. Initially I was thinking about North Window Arch, but after hiking around it, it was clear that the angle of the Milky Way would make it difficult to capture. South Window Arch, being larger and angled a little more to the east seemed easier. In the image below, South Window Arch is on the right.
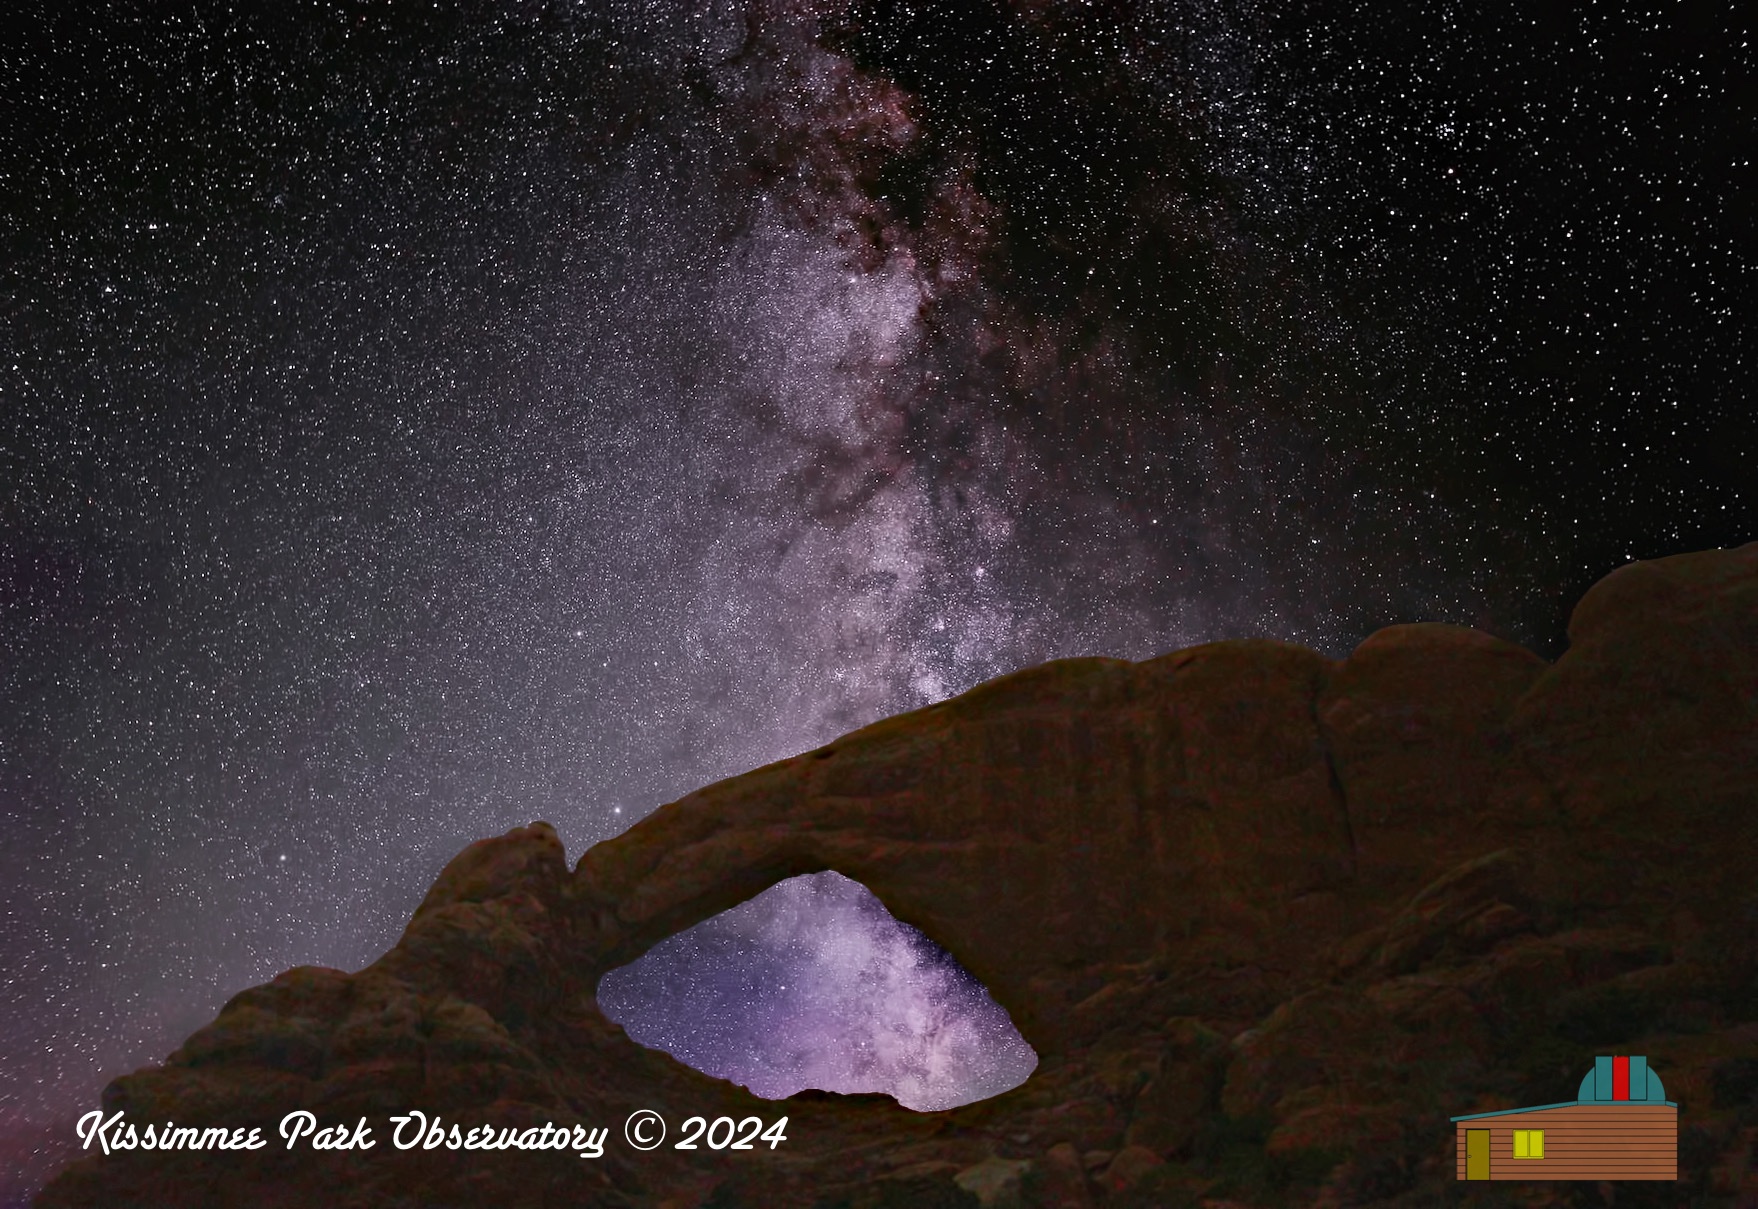
Again we arrived a bit late to the parking area, and by the time we hiked up and around the arch (with all our equipment) it was again nearly dark. As we were now looking west through the arch, the alignment of the Milky Way core through the arch would occur when it was setting. So therefore I needed to capture the Milky Way while it was much higher in the southwest, and keep capturing until the alignment with the arch was achieved.
Back behind the arch, it was very dark, and the arch itself tended to block the light from Moab, so it was really pretty spooky. We watched the stars rising out of the eastern horizon and spied lots of satellites. There were occasionally people playing with flashlights in the North Window Arch (about 100 yards away), but aside from that we were alone in the darkness.
Image Setup and Processing for the Milky Way Landscape Shot
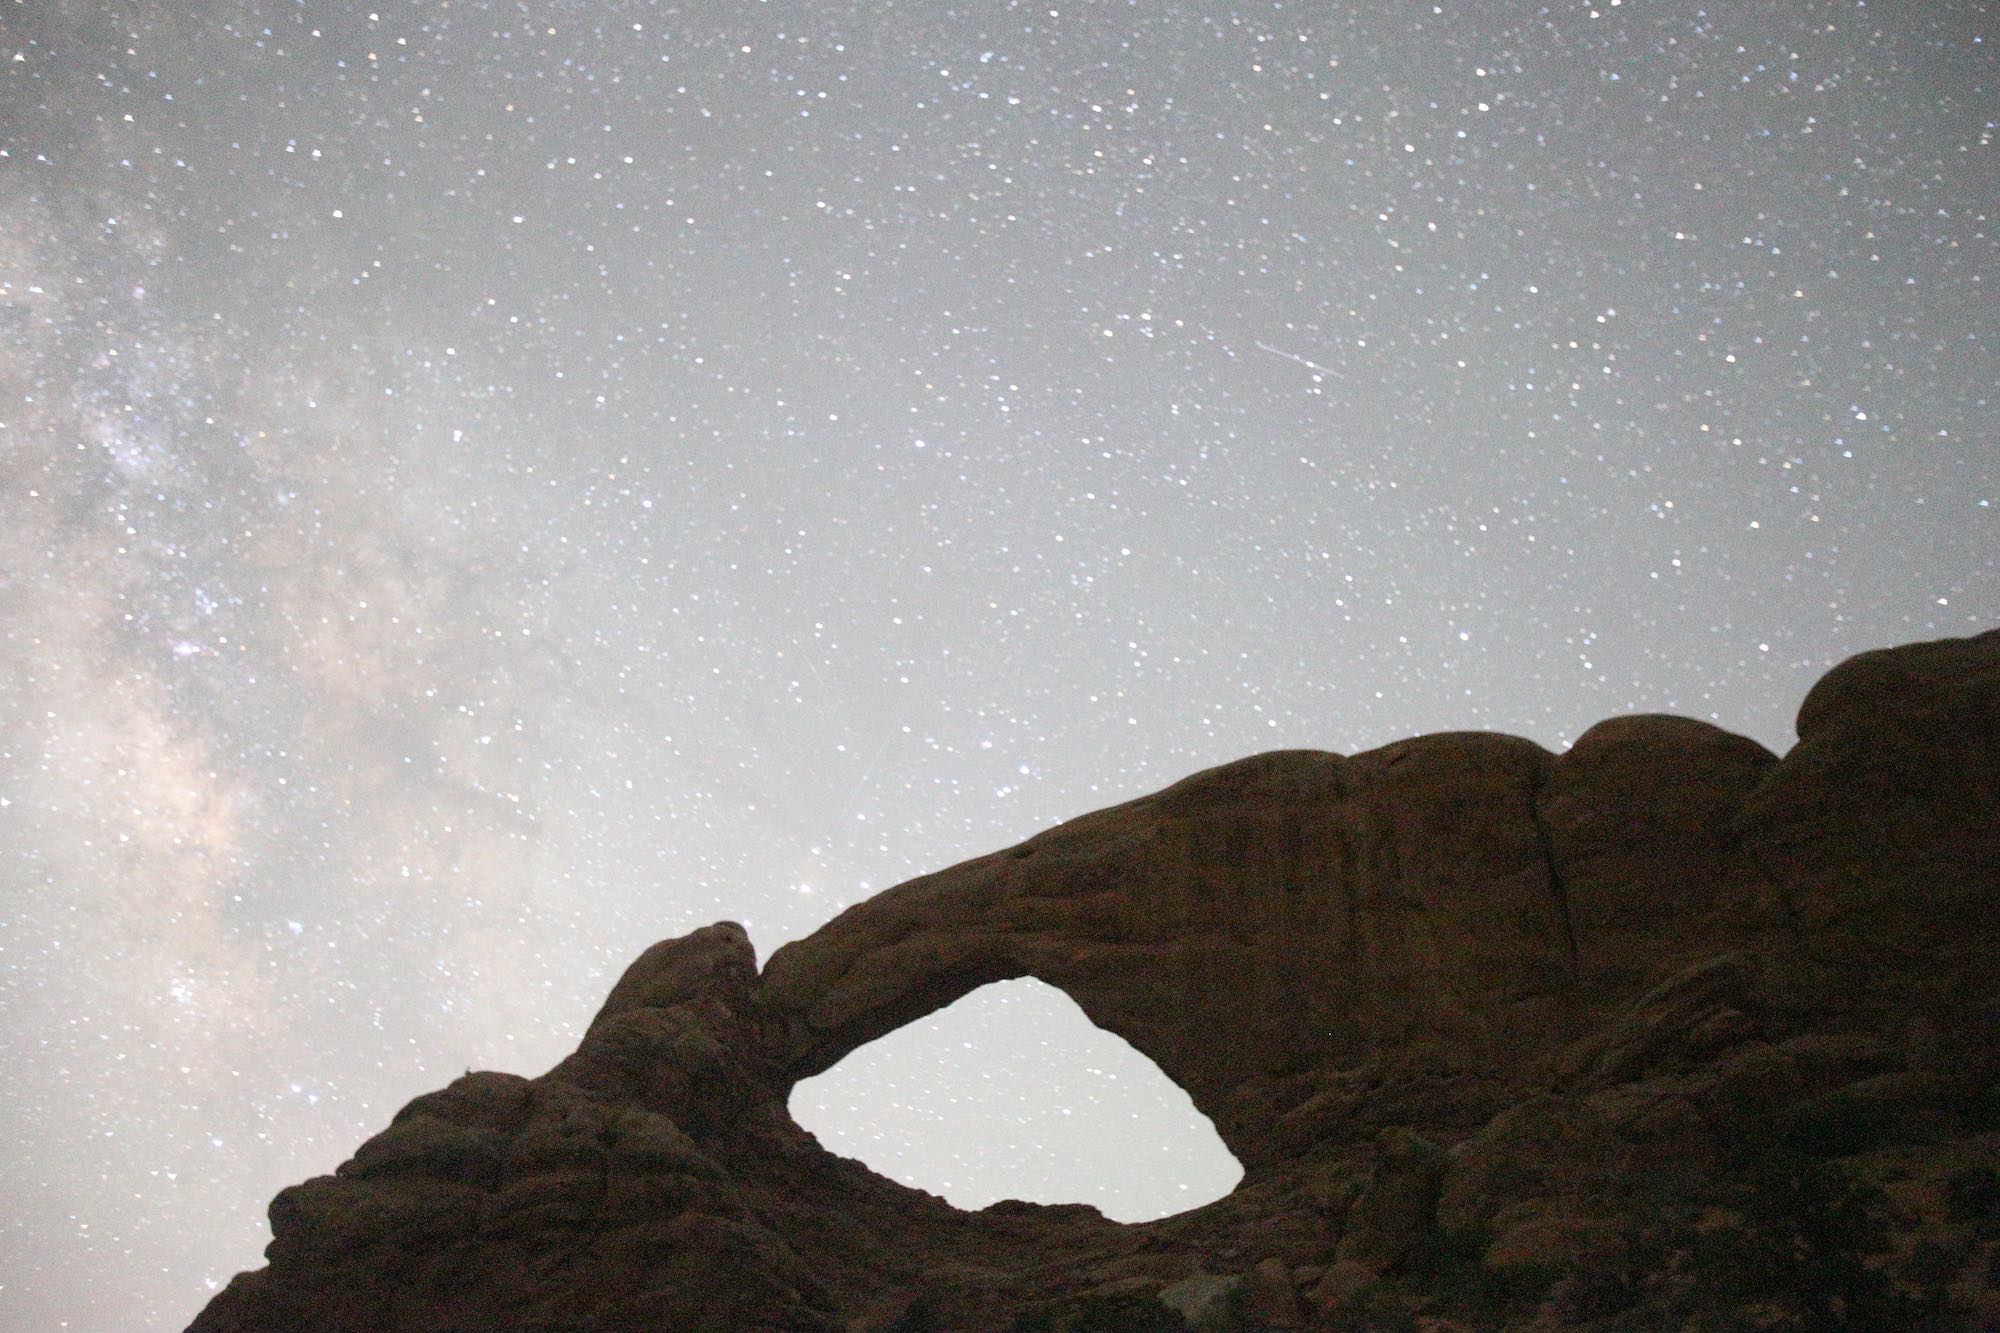
The alignment of images was a little more difficult in this shot, as I captured the Milky Way while it was above the arch itself.
Since we arrived in the dark after hiking in, I had to take some very high-ISO (20,000) shots of the arch foreground. It resulted in a very noisy image, so I had to run it though a de-noising app. For the Milky Way, I set up my iOptron SkyGuider Pro star tracker with my Canon 6D and the Canon 16-35 f/2.8L wide angle zoom lens, and captured 51 two-minute frames.
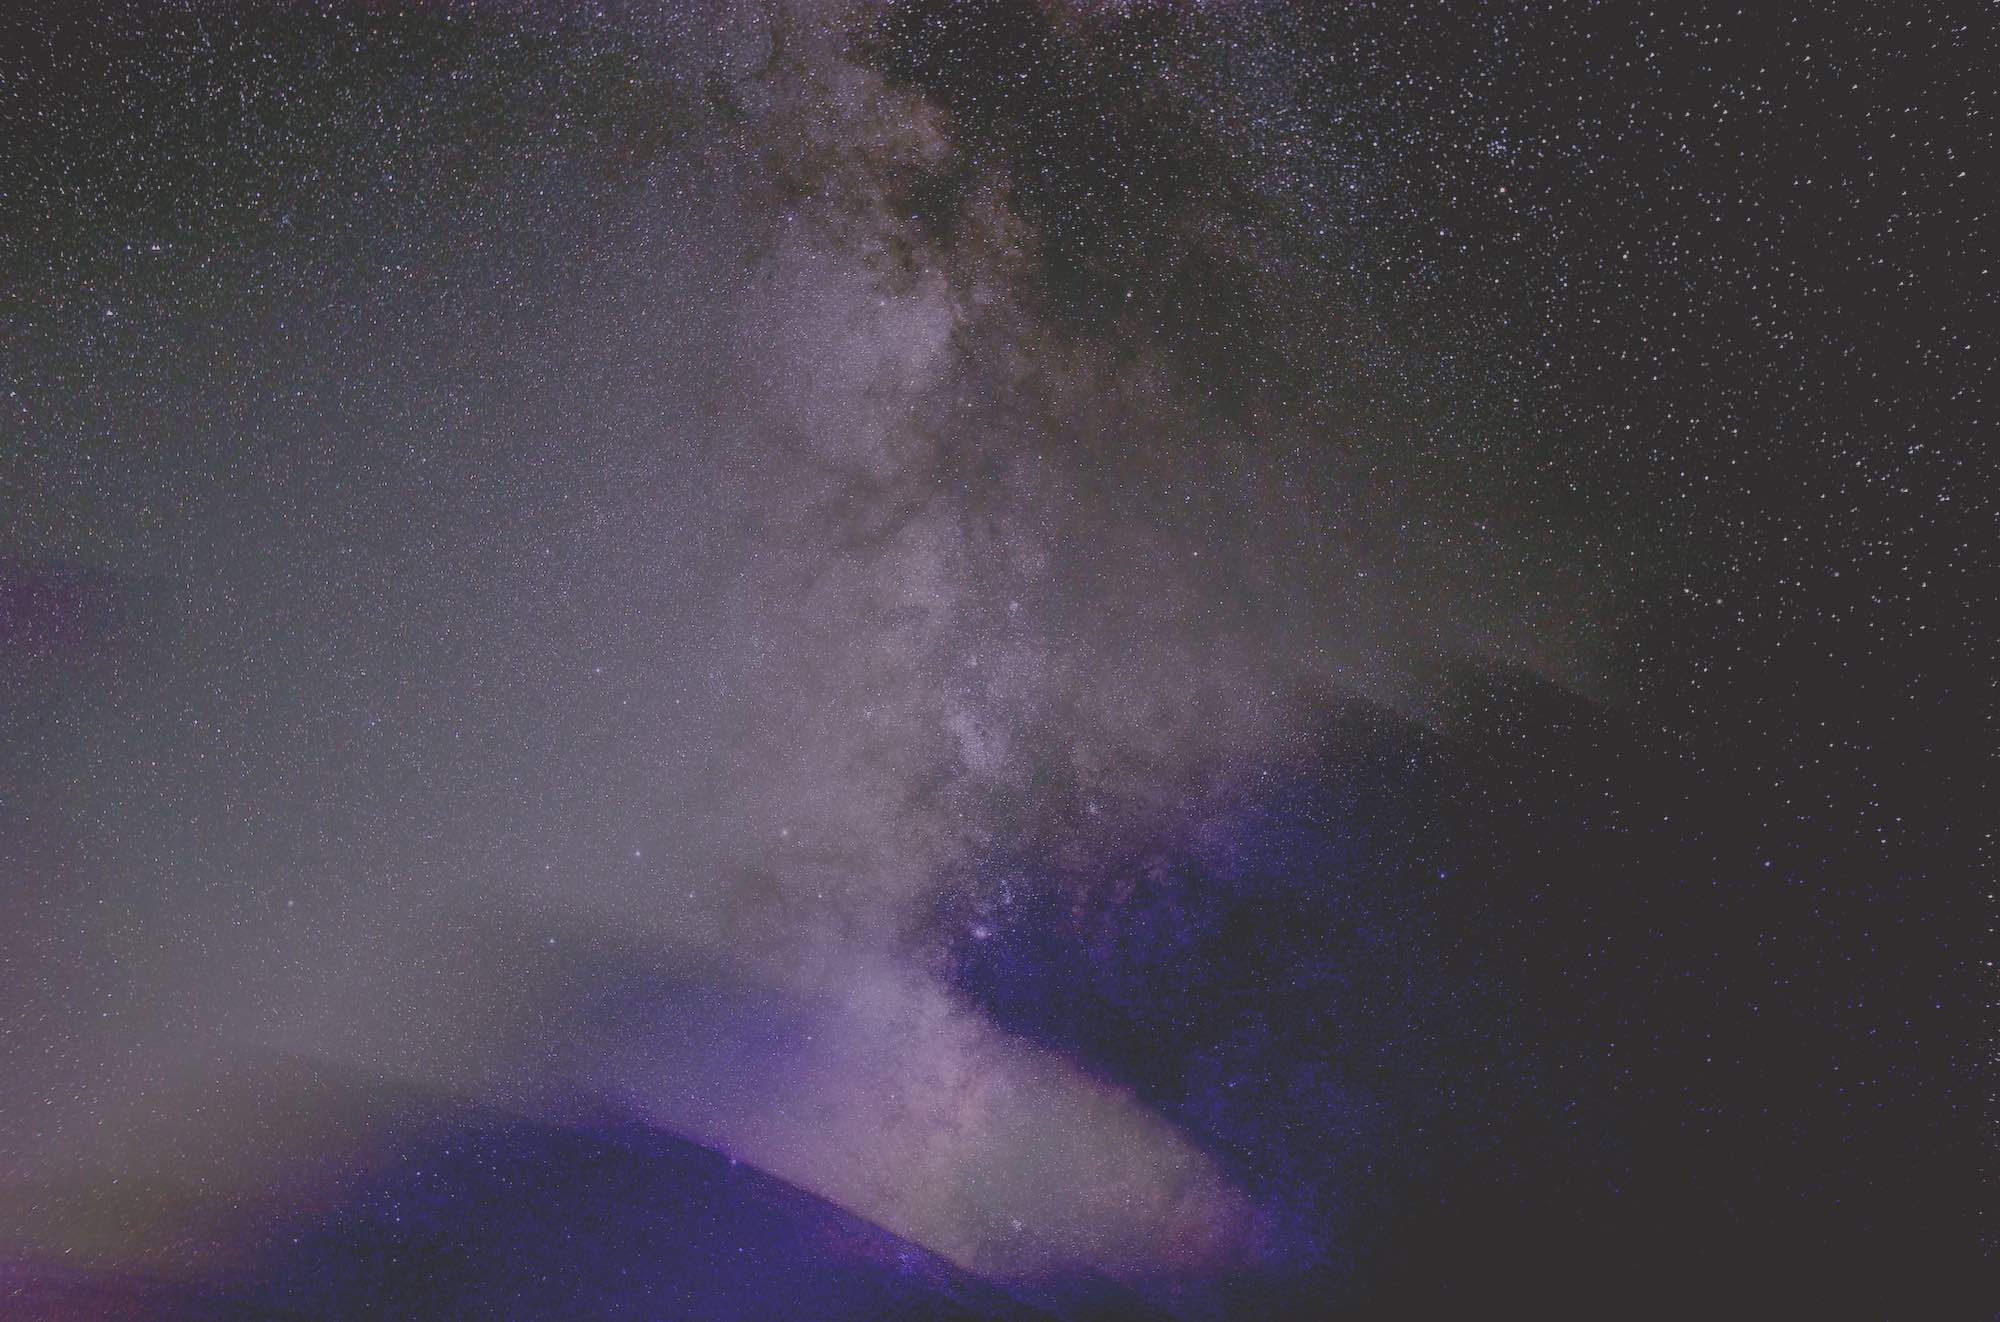
I stacked the Milky Way images in AstroPixelProcessor (which very nicely removes all the satellites and airplanes). Then I combined the two images in PhotoShop, after clipping out the sky on the landscape image.
From the above two images, it’s easy to see how much the Milky Way moved during the imaging session.

Buy this image as a print or framed art piece in our Art Gallery.